So your interested in playing Mordheim: City of the Damned table top game. You are probably wondering how much time, money and effort will go into it and if its worth it.
First of all, make sure you print out the original Table Top Rules and show some of your friends how different the warbands will play and see if they are interested. Make up some warband rosters and show them ones they may be interested in.
You can't play the table top yourself so it is imperative that you recruit at least a promise of a game before you start crafting.
Below will give you the maximum returns with the least effort and cost.
Table Top[]
Table top means, well, a table top suitable for the playing field. Above and beyond any ordinary table top, it is best to have a 4 foot by 4 foot (4x4) table top for maximum game strategy design. It is also good to keep in mind that multiplayer games need at least a 5x4 and officially a 6x4.
If you have a table that is large enough, it is only required that you define the boundaries with whatever is available. A cheap, long term choice is buying a piece of felt cloth that measures 4x6 feet. The felt can be folded to 4x4 for two player battles and is large enough for 6x4 multiplayer battles. A felt table top is an easy, instant way to get a good looking table to play on. Black allows the eye to concentrate on everything else and works well for Mordheim. Dark brown is also a good choice and can be used for other terrain types.

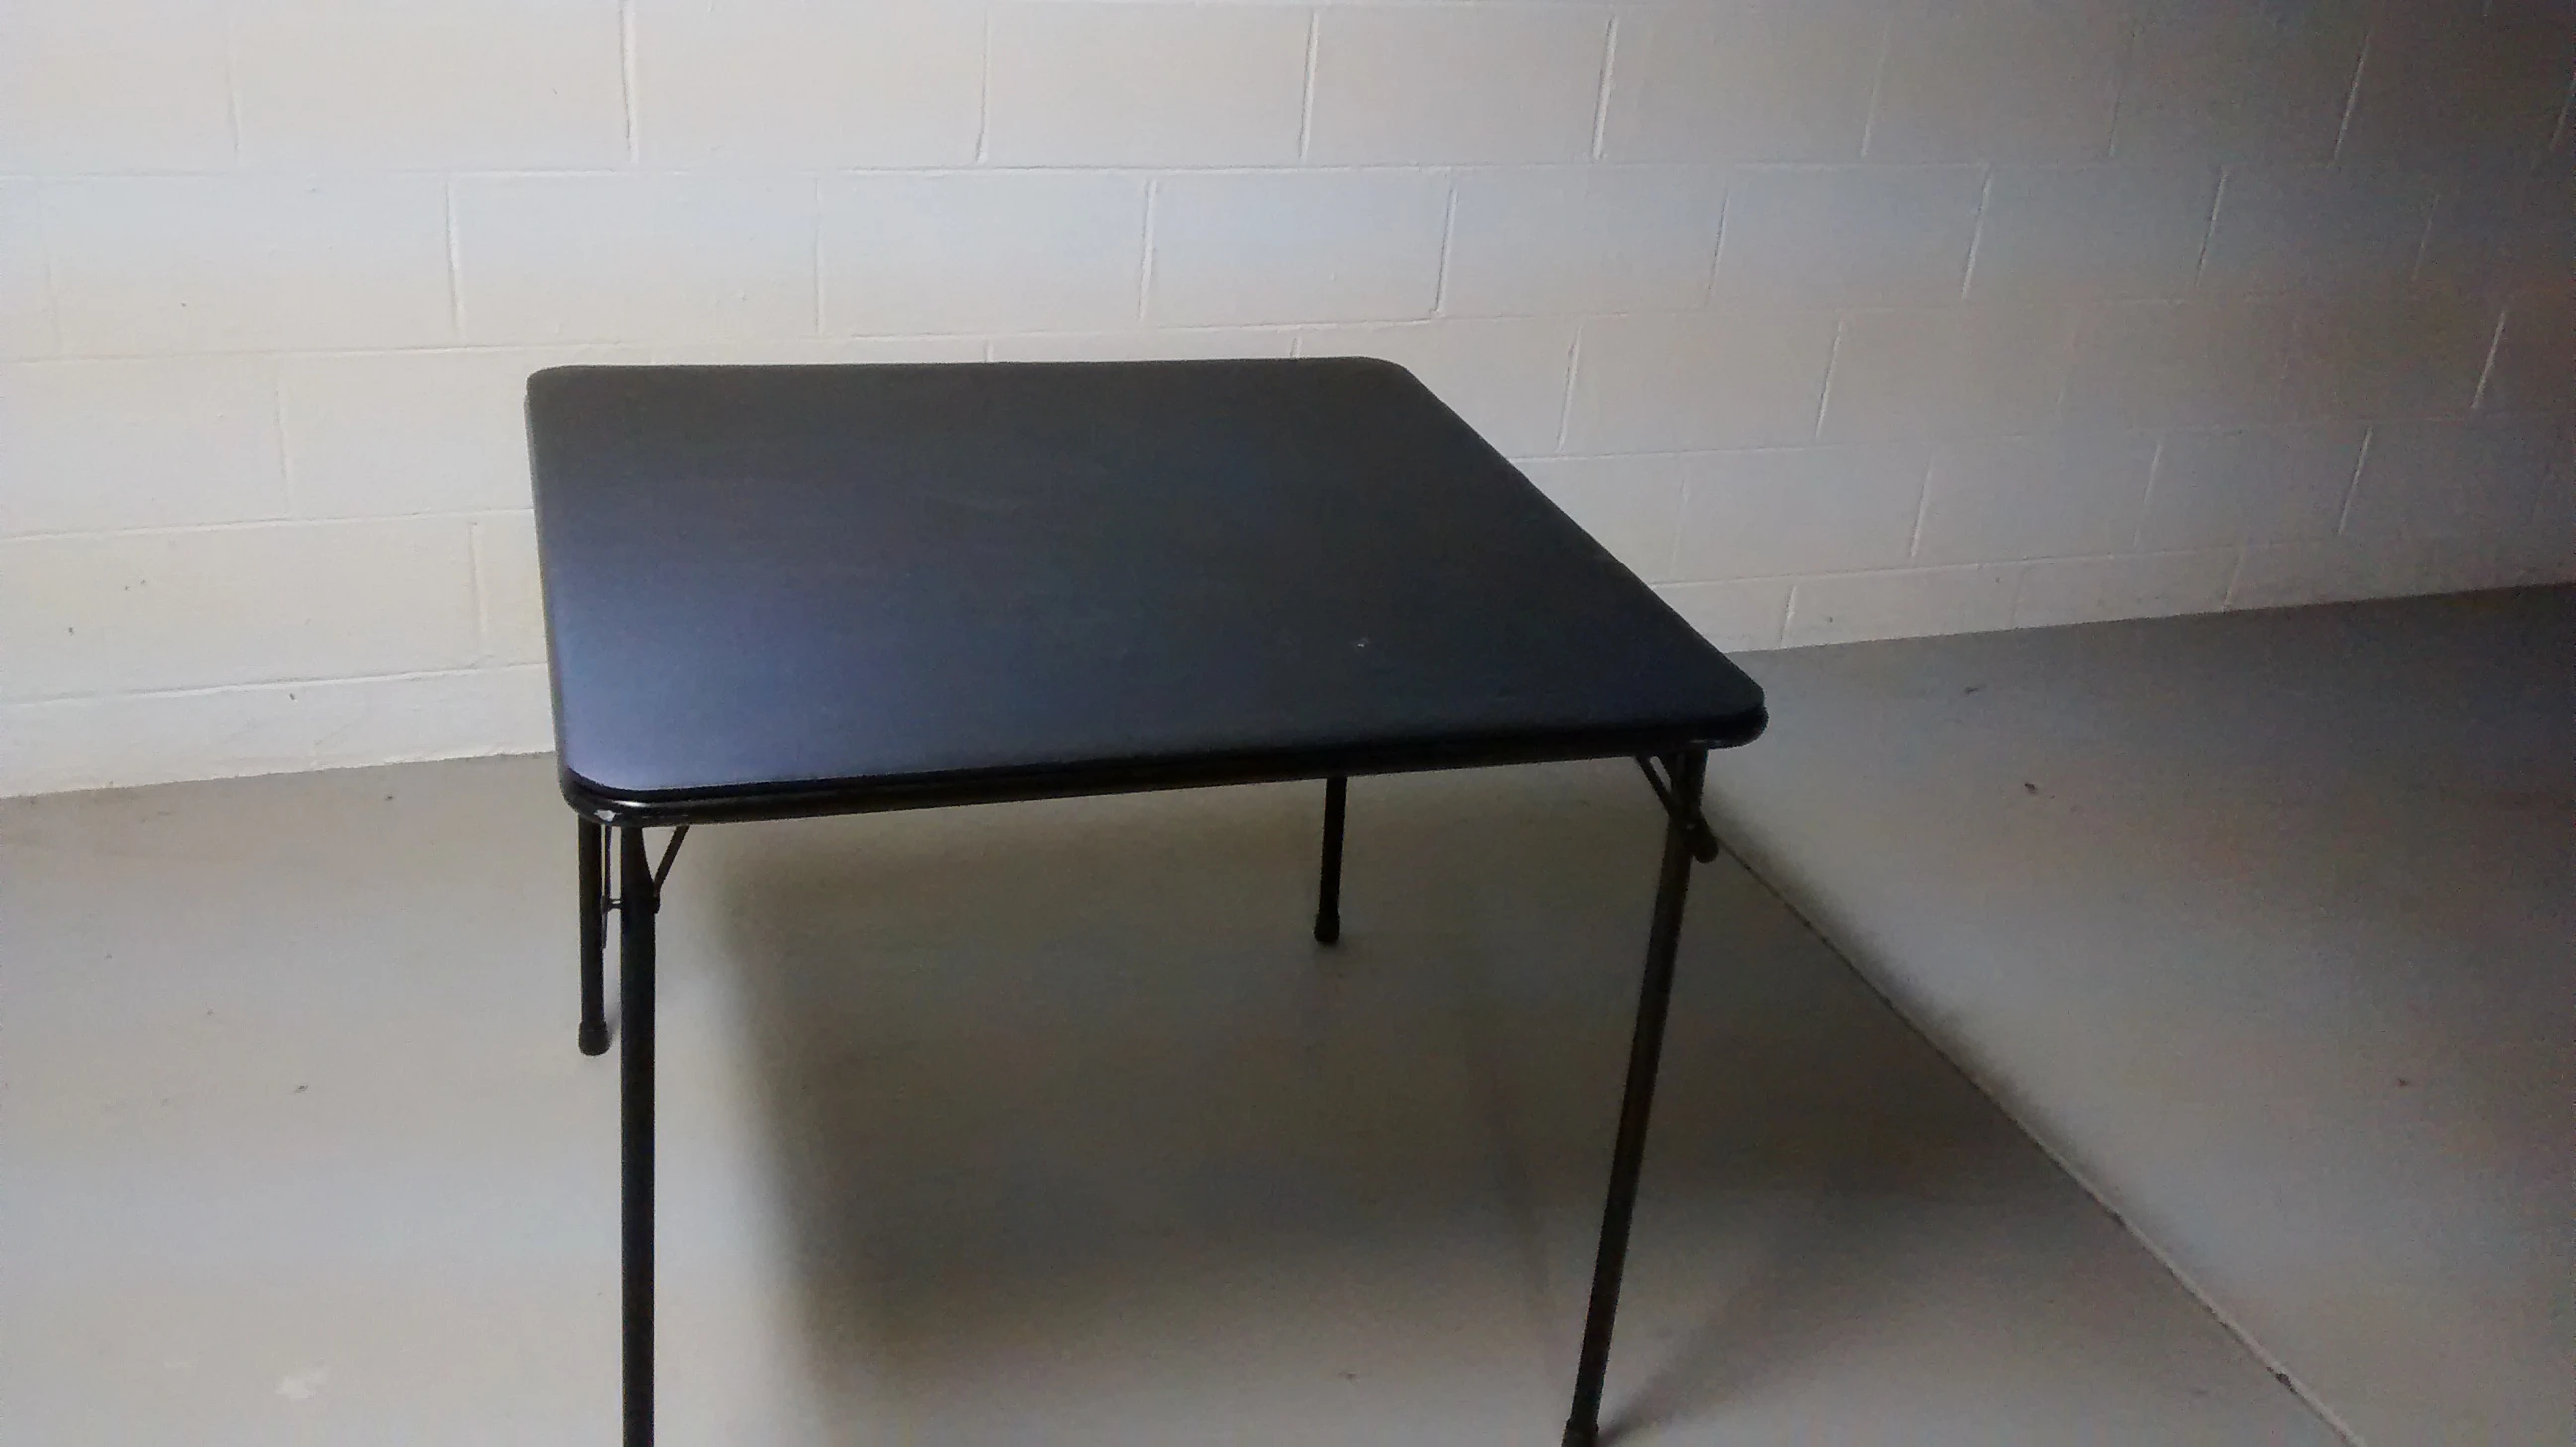
If you are lacking in available table space anywhere, a folding card table may be the best way to go. If you can afford it, two folding tables that give the entire 4x4 or 6x4 top area is a good, long term choice.
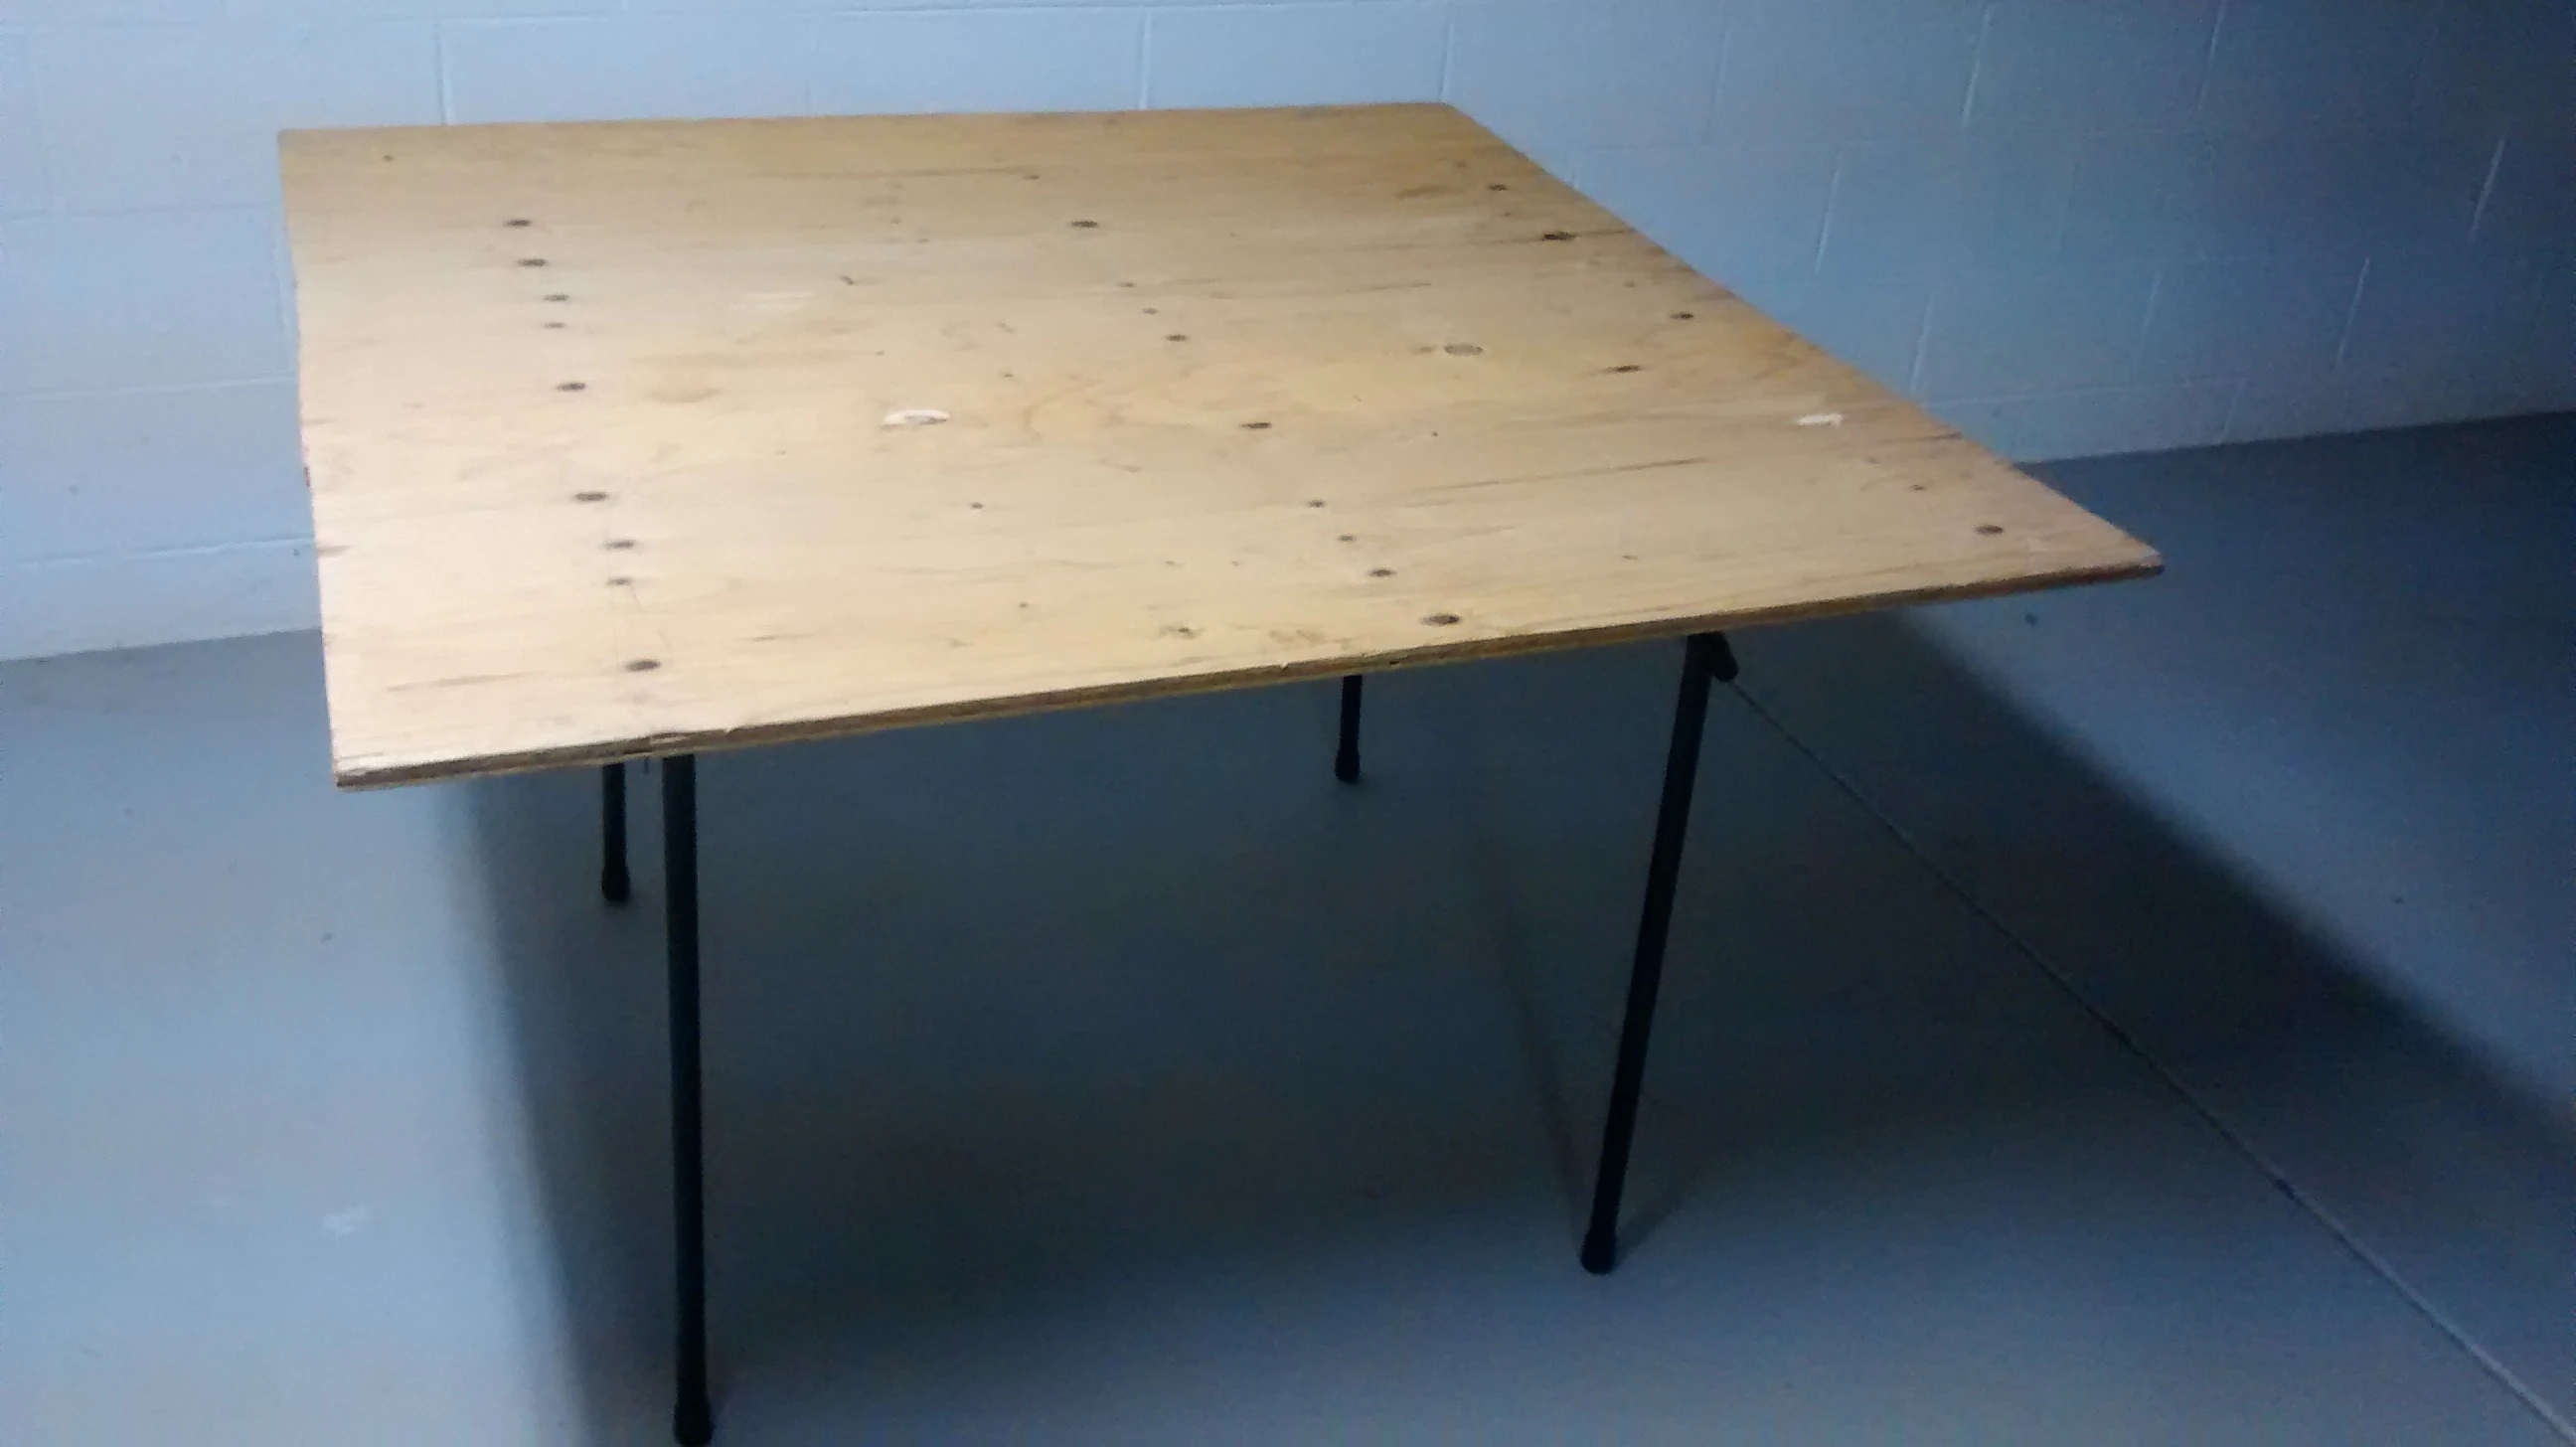
If you don't have a table large enough (folding or otherwise), the easiest and cheapest way to get an adequate table top is to buy a piece of plywood and have it cut to 4x4. This usually means buying a 8x4 and having it cut in the store. The plywood is placed on a regular table for an instant 4x4 table top. Remember to have some felt for under the board if using a nice table to play on.
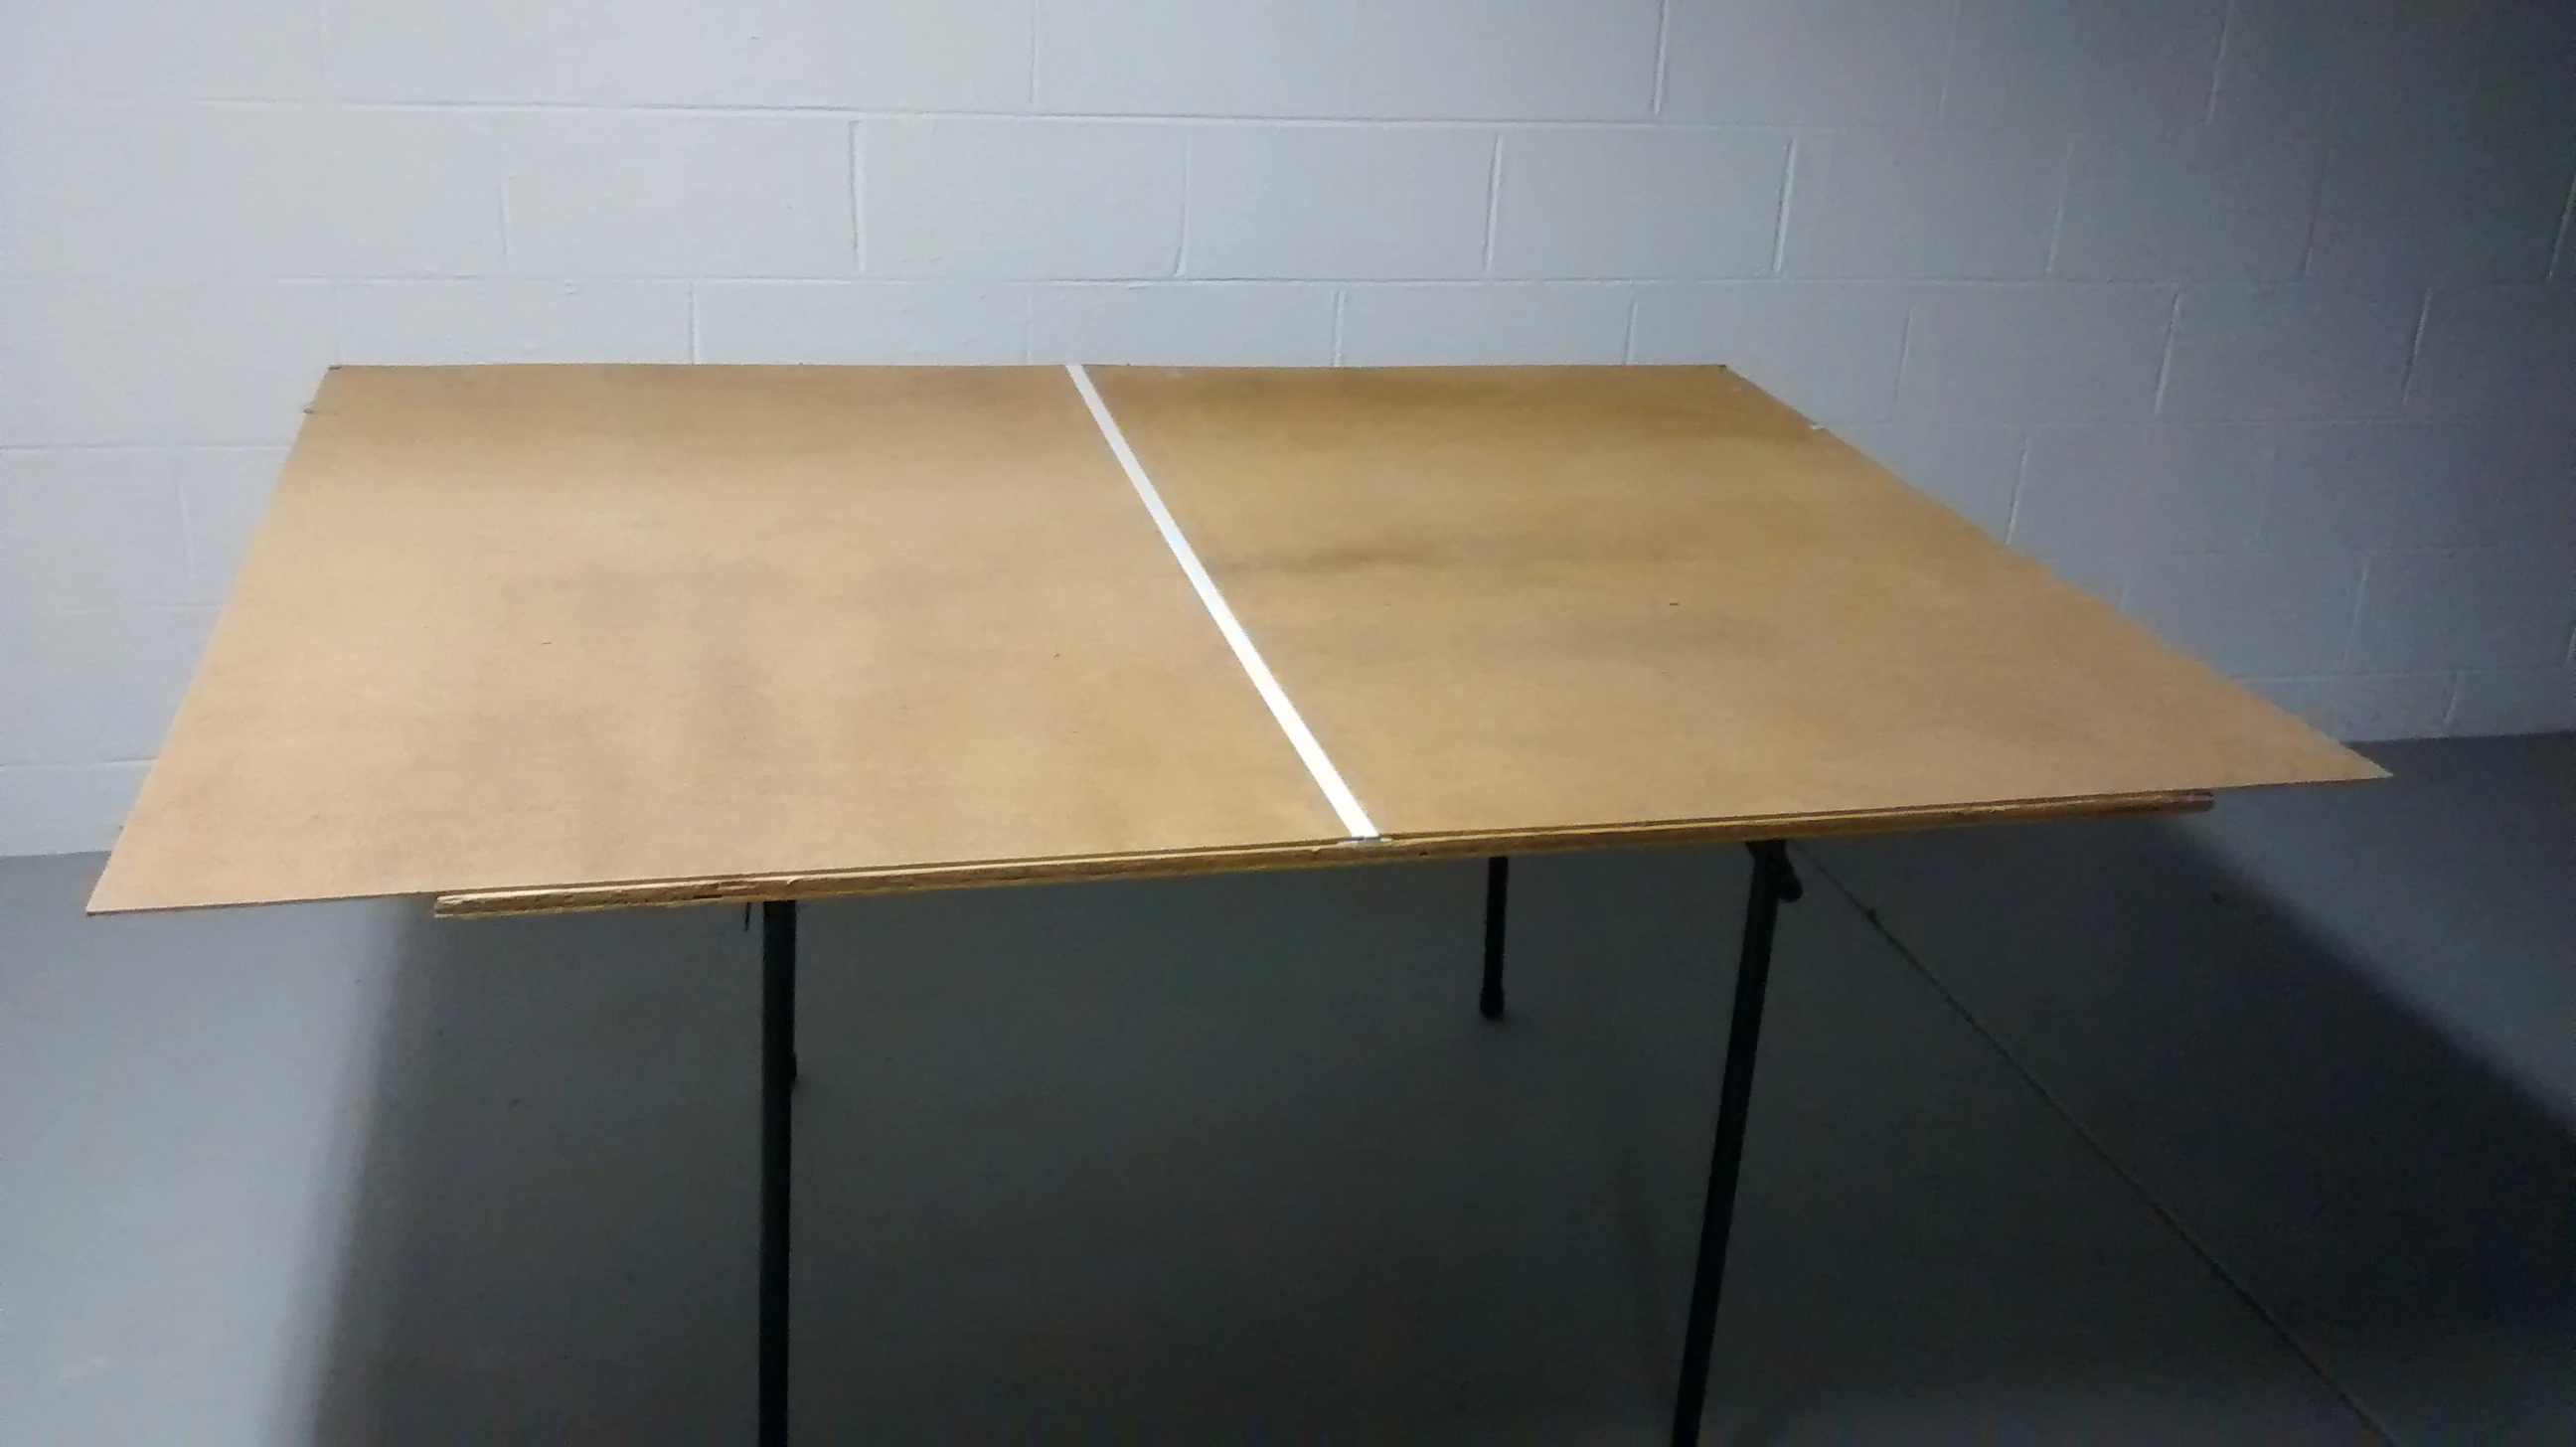
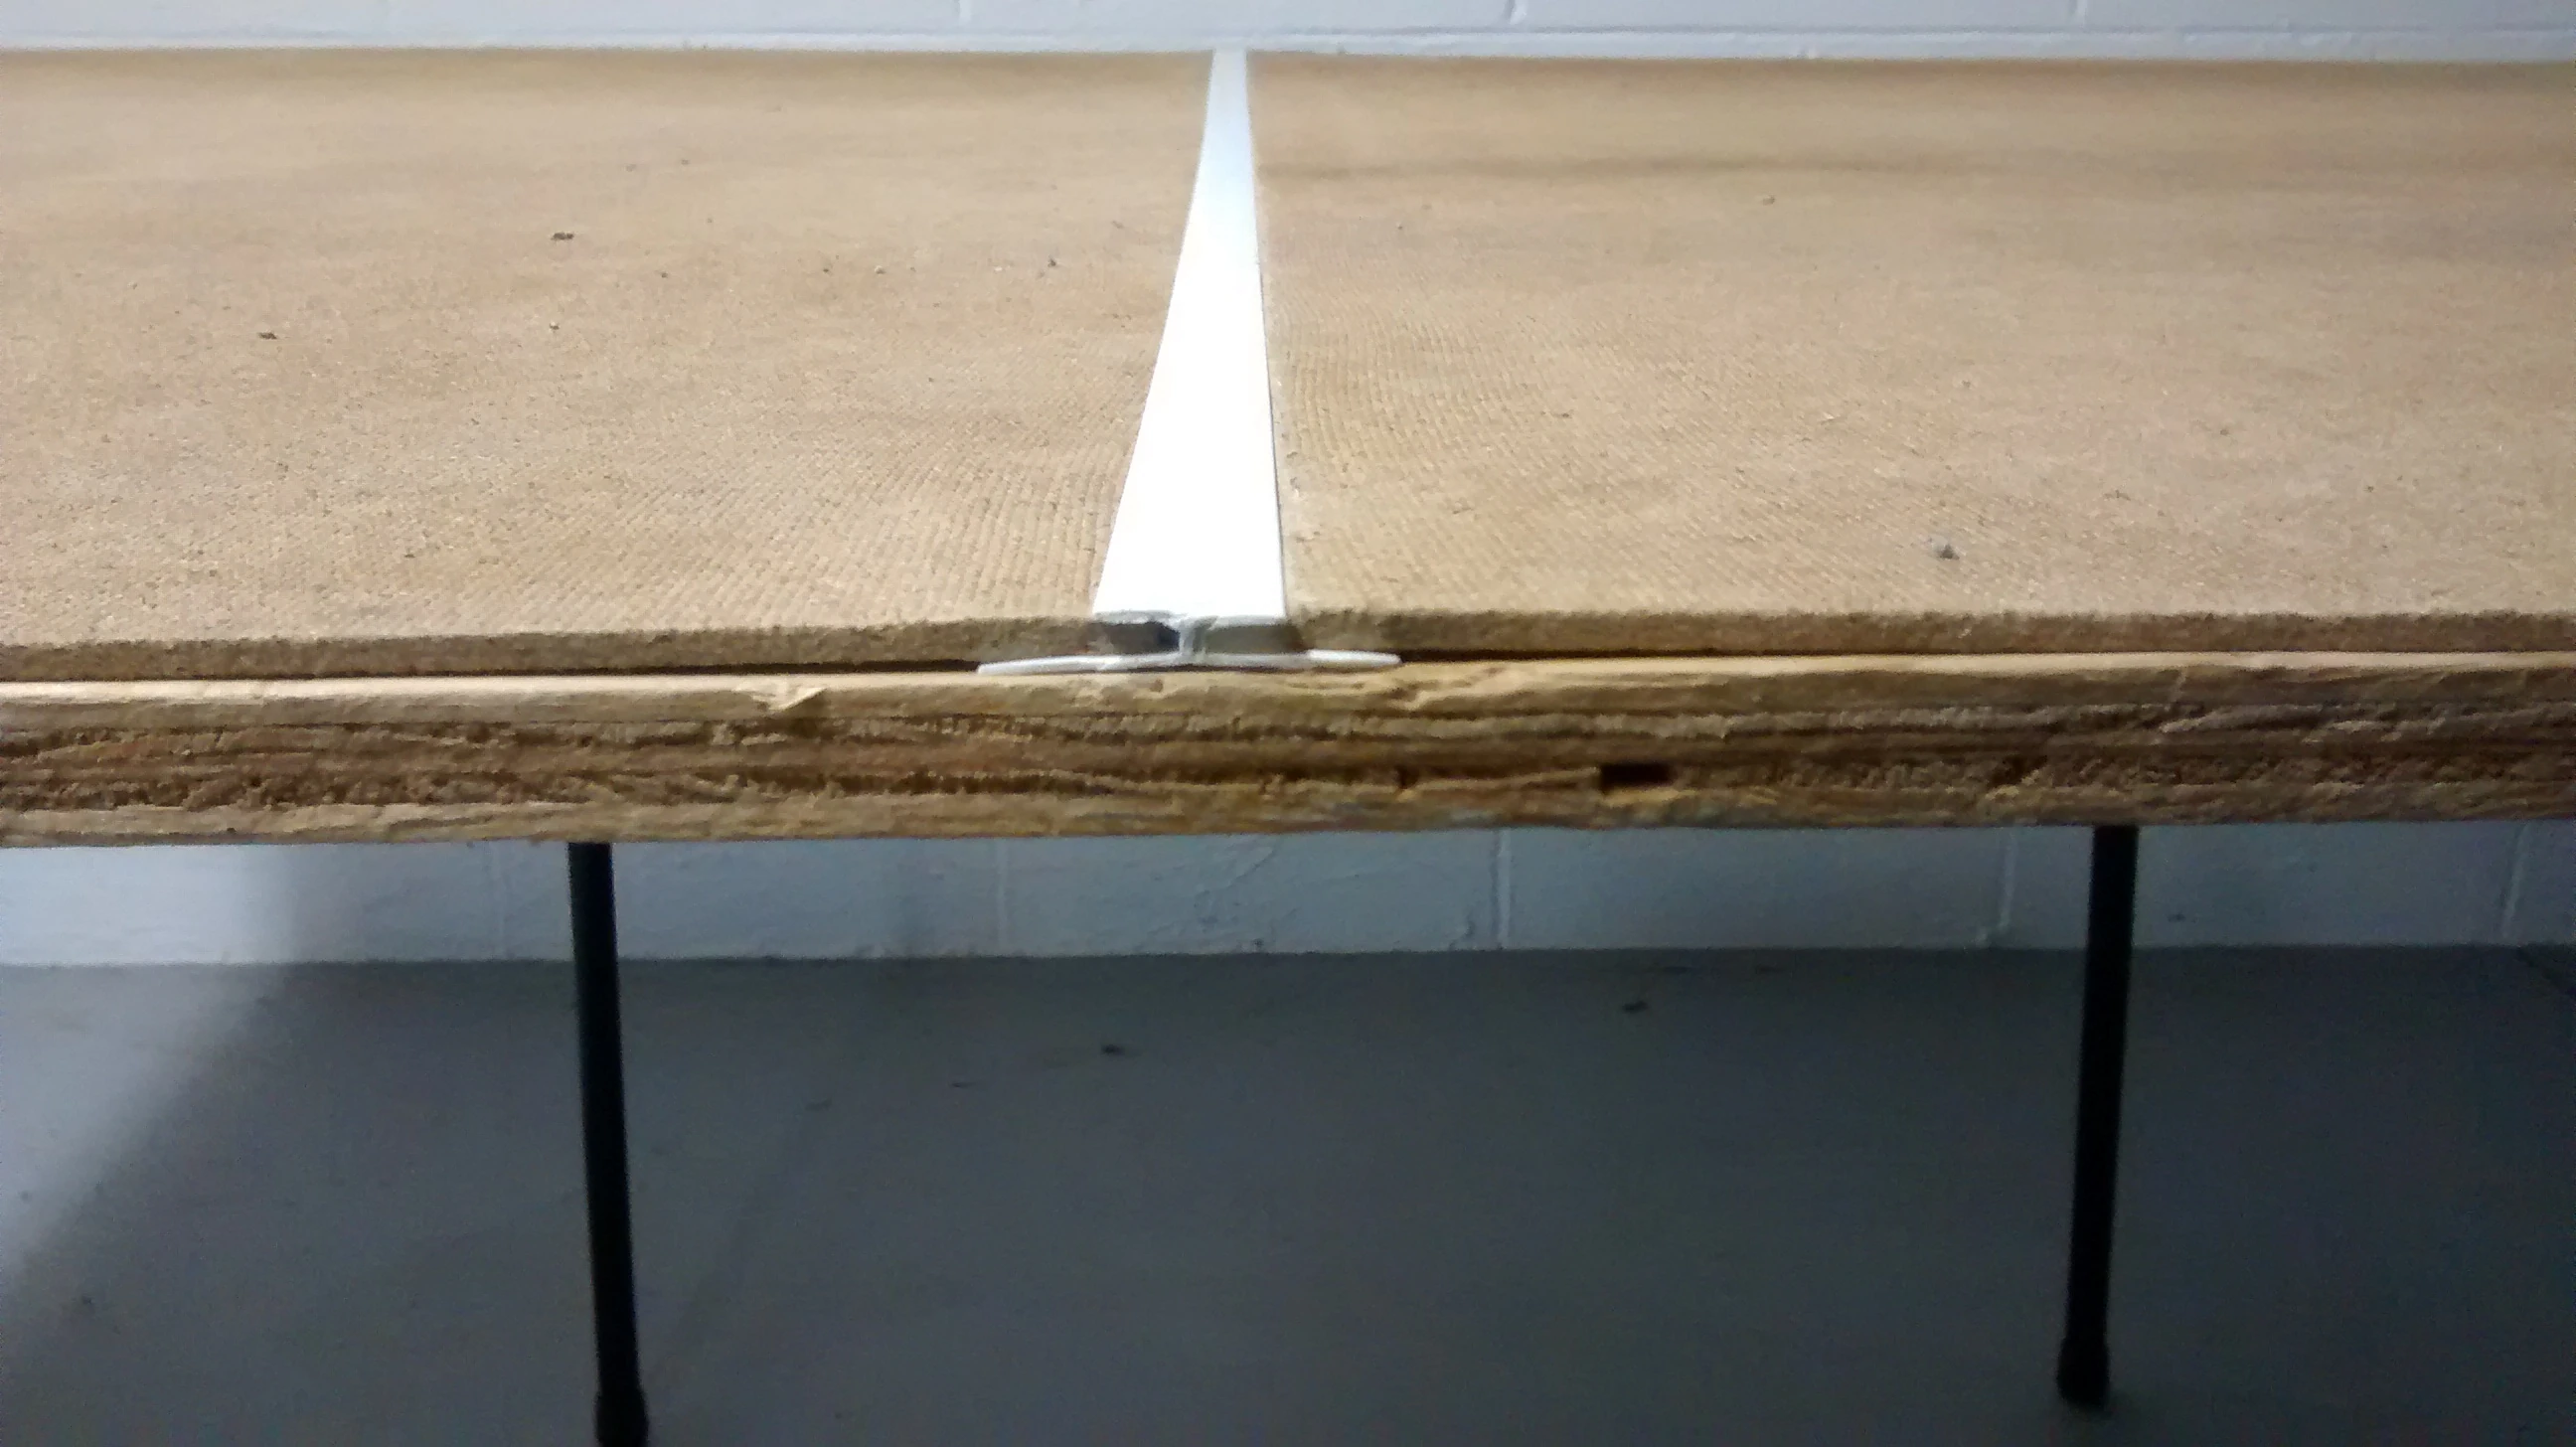
Portability: If a 4x4 is too large to haul around easy, you can have the store cut two 2x4 foot boards. You can then get some low profile hinges and open the platform on a regular table. Make sure that when applying the hinges that the surface is flat and together so that when it is opened, it doesn't go in an upside down V. It may be prudent to take a few small pieces of lathe to prop the surface after some use.
It is best to have as large a surface area as hauling around allows. For example, if you can comfortably haul a 3x4 make sure you have one from the cutoff. The reason for this is to allow you to make a 6x4 table top that is stable (see below).
In order to make a stable 6x4, it is best to have a large stiff top (such as plywood) to work with (such as a 3x4 or 4x4). You can then make the 6x4 with MDF (hardboard). Even though Hardboard is flexible at long lengths, the stable base (such as plywood) will allow you to play comfortably on it. Hardboard is thin enough to allow a low profile joiner to merge two pieces together so you can piece it into two 3x4 or even three 2x4 parts and put them together on play site.
|
|
Conclusion: For your first table top get a 4x4 or 6x4 felt cloth. IF you need a larger table, get a 4x4 plywood board, if hauling is possible. Otherwise get two 2x4 boards and join them together with hinges. With the remainder of your purchase, a 3x4 is preferred when facing limited room. You can worry about the 6x4 later after introducing the game to multiple people.
Figures[]
Fortunately, Mordheim doesn't require a ton of figures to start a warband and play. Figure out what warbands you and your friends are wanting to play and make the warband on paper first. Get the figures that represent your warband and maybe a couple more for adding on. You may have to get your friends warbands as well, if you are the one pushing to play the game.
Any figures that adequately represent your warband members will do. There is very little official activity, such as tournaments, that would require all figures to represent exactly and to be painted. Just make sure your announcing what each member has and, when possible, try to represent their items to the best of your ability. This may include having loose representations on the base, a loose pistol on the base of your figure for instance. Announcements such as "this one is holding pistol instead of a rifle" should be adequate and getting things close should be easy enough.
There are many games out there that have figures that are cheap and could adequately represent your warband members and their equipment. Keep an eye out for them.
If you decide to play with the random encounters, there are a few things that you may want to represent with figures, rather than empty bases (counters).
An ogre - same as the Hired Sword
A card to represent the rat swarm (80mmx120mm) or just 6 rats - same as Skaven rats
A Bloodletter representation - Use a Carnival of Chaos or Possessed figure
A generic ghostly figure (Restless Spirit) - also good for the Town Cryer
A tree representation - a wood golem works and can be used in other applications
Up to 12 skeletons (or zombies) - Same as the Undead Warband
A Spawn representation - A Possessed can work from the Possessed Warband
Up to 6 dogs - 5 Warhounds from the Witch Hunters Warband should do
Pit Fighter - Same as the Pit Fighter Hired Sword
Sigmarite Matriarch - Same as the Sisters of Sigmar Warband
Up to 3 Flagellants - Same as the Witch Hunters Warband
Spider - same as the spider mount (forest goblins)
The general theme is to get figures that represent well but have other uses. Don't just run out and buy everything right away, build stuff up and use counters for what you don't have (except your actual warband).
These days there are also papercraft models for figures as well as buildings. Some of the larger models can be a bit expensive and a couple papercraft models that artists released for free can be used instead.
See main article - Table Top Resource Archive#Papercraft Figures
Terrain[]
There is no better thing than terrain to run around in, hide behind, hold up in and generally outwit your enemy. Using books and miscellaneous objects will get old real fast and good looking terrain keeps the interest up.
Fortunately, there are cheap and easy ways to get nice looking terrain. Of course, you can put as much time into crafting as you want but simple techniques can make fantastic and quick terrain.
Mordheim is set in a blasted city and the terrain is extremely easy for beginners.
Get some black paint. You can either use shading ink (black) or water down the paint for much the same effect. Black makes the eye fall off whatever you paint and hides all types of unwanted focus, such as joints and edges. Having a black felt to put your terrain on will enhance this effect and make what you want to see pop out.
Ground Flock[]
Flock simulates the ground figures and buildings are standing on. It is a quick way to make terrain look much more complete. Just brush some cheap Elmer's white glue (also called PVA, watered down to about 50/50) where the ground is supposed to be and sprinkle flock on, let dry and "tap" the loose flock back into the flock container.
Recommended: Dark brown sand. This can be used as flock on your terrain and can be used as flock on your warband bases as well.
Recommended: Coffee grounds. Mixed sparingly with the dark brown sand, this adds an extra texture and color dimension to the flock.
Optional: Light brown sand. Mixed (very) sparingly with the flock mixture adds extra color variation.
Optional: Black sand. Mixed (very) sparingly with the flock mixture adds extra color variation.
Optional: Ground rubber (black), sold as coal in train stores. Mixed sparingly with the flock will add the final color and texture dimension to the flock. Can also be applied separately in areas as piles of charred rubble.
If you want different colors, the same general theme applies. Mix the base color sand with sparing amounts of different color and texture dimensions that make sense. Feel free to experiment. Separate portions of the flock mixture you want and add different elements to it to see what (and how much) looks good. All kinds of ground spices/herbs can be used but make sure the smell is not overpowering.
Adding 4 or 5 levels of elements to flock will give a very detailed look to terrain. Its easy, cheap and gives great returns[1].
Buildings[]
Buildings can be made out of cardboard for free, however the corrugated edges will look bad. You can mitigate this by taping the edges with masking tape. Its not hard but can become tedious and takes time.
Anything stiff and flat is preferred to corrugated cardboard. This includes non-corrugated cardboard, card-stock (if you can afford it) or even thin plastic sheets. Notebook covers, file folders, cereal boxes or gift type boxes can be used if card-stock price is unappealing.
Whatever you use, strength can be added to the structure with small square balsa wood. Any platforms that figures stand on should have balsa wood underneath at the joints, possibly laying out a framework underneath to hold the figures. Any inside corners should be shored up with balsa wood as well. Painting the inner corners black will hide the balsa wood and keep the theme of Mordheim at the same time.
If MDF (hardboard) is used, the strength will need very little in the way of support. A jig or band saw is needed to cut MDF though. Since MDF makes for one of the best building bases (and can be used for a table top), it is worth looking into.
Side note: Other than buildings, the only other thing that needs strength is platforms that run from building floors to other building floors. These need to be long enough to work and strong enough to hold figures. For free, cardboard from corner guards are usually thick enough to work perfect. There is also corrugated cardboard with the edges taped, strengthened by a second (smaller) layer underneath. MDF, if optional, is the easiest.
Building Design[]
Those that sell building designs offer free instructions and samples. If you like their product, there are all kinds of cheap designs to consider buying.
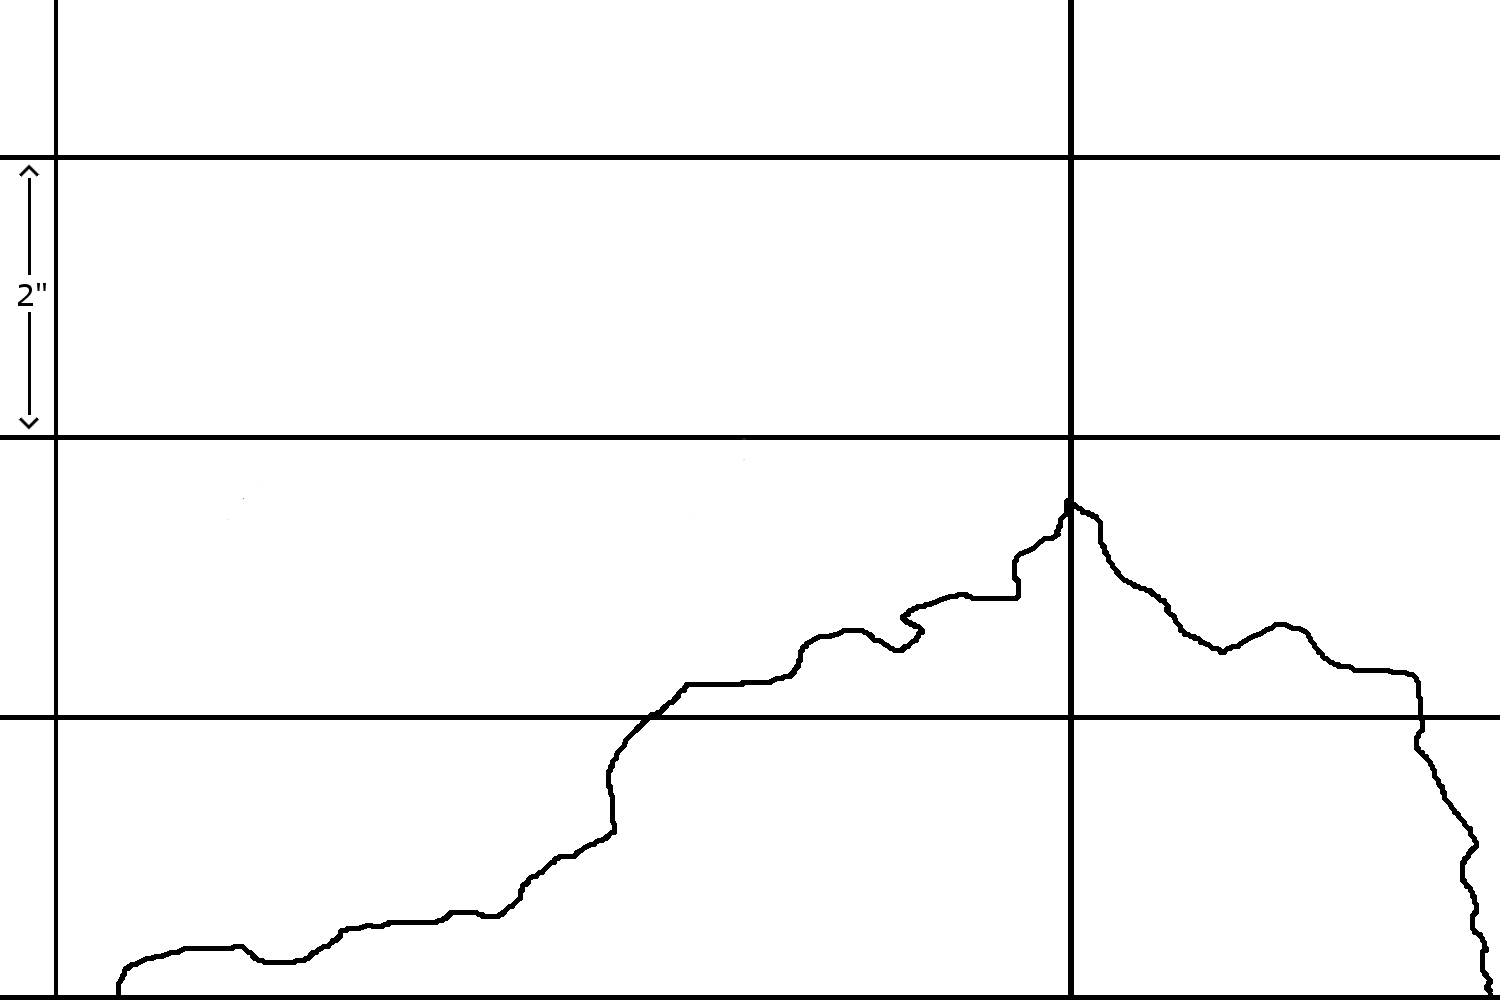
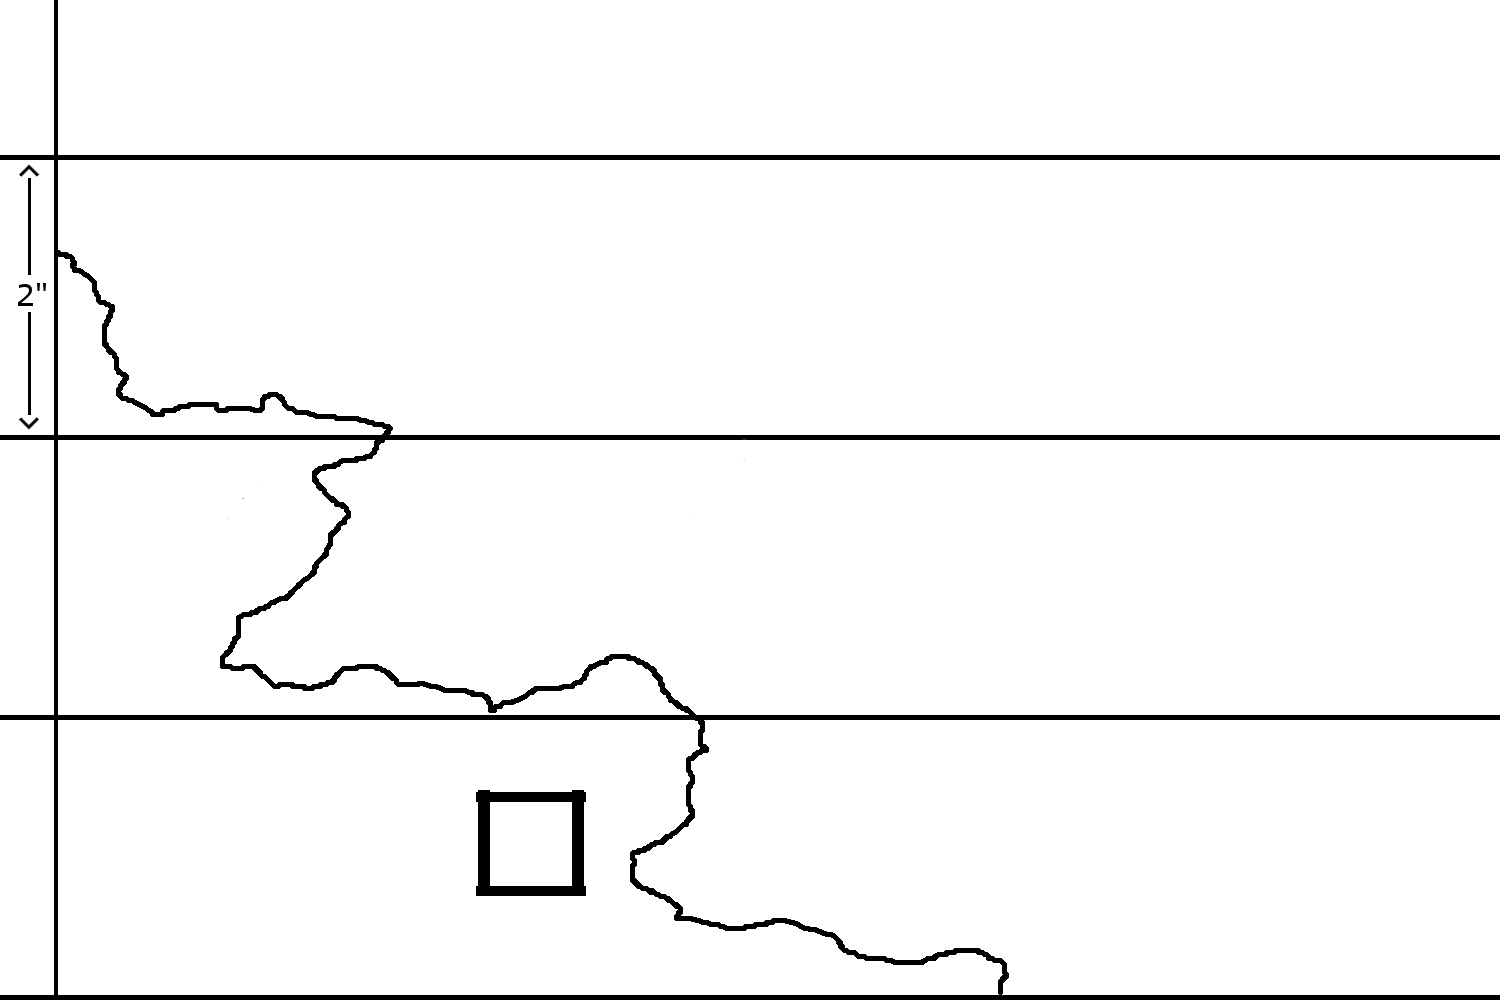
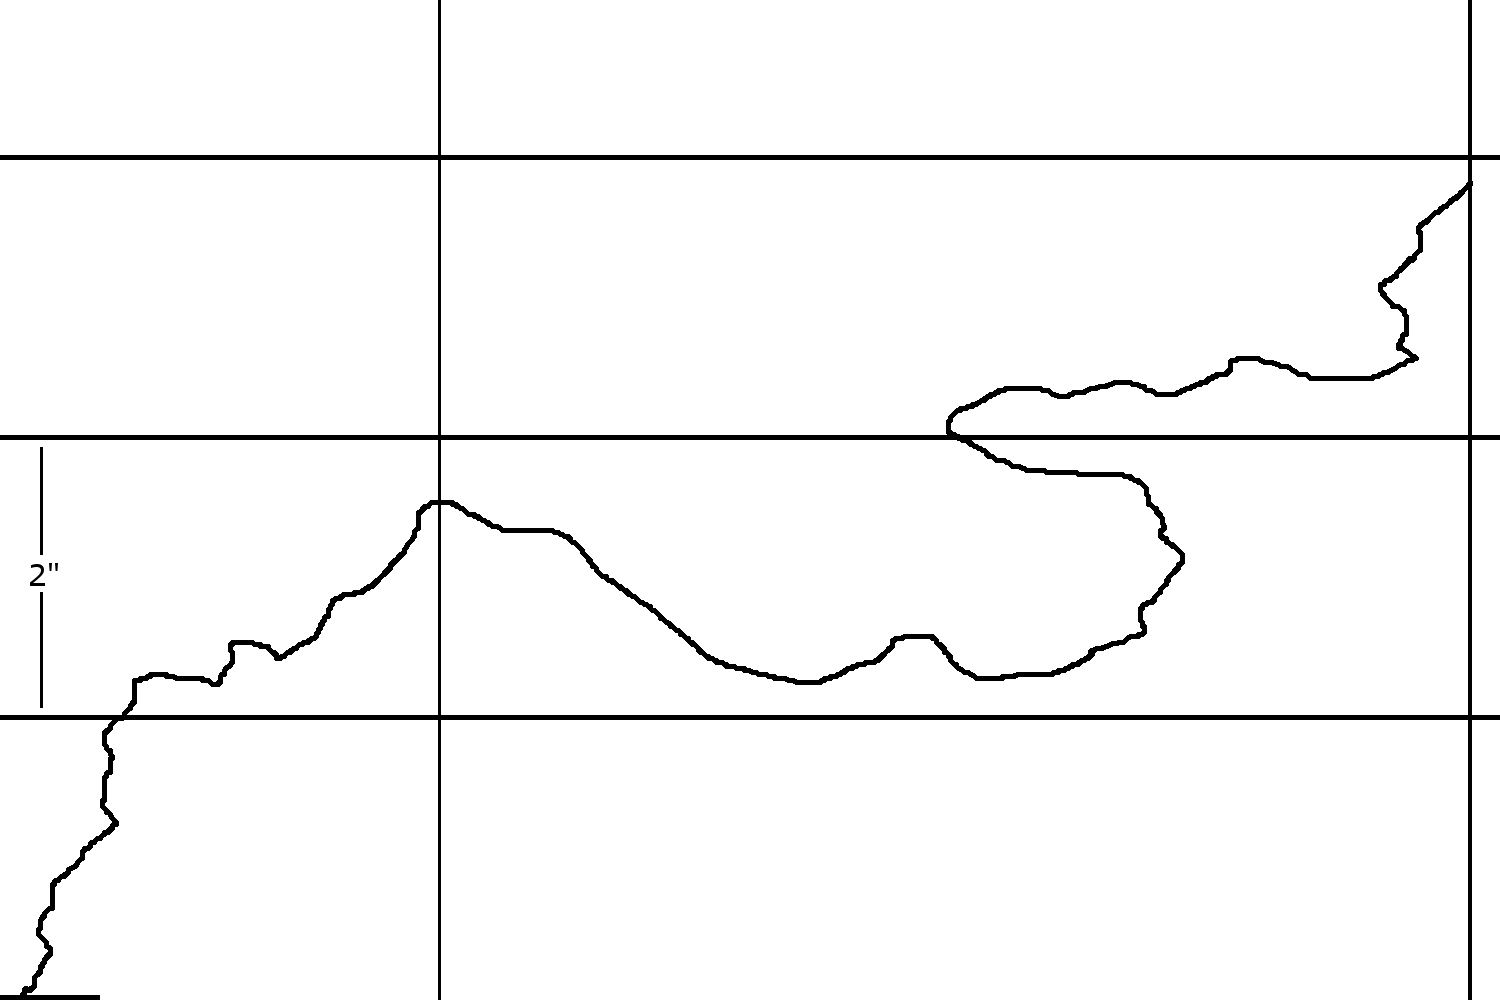
However, with Mordheim, designing buildings is extremely easy because all the buildings are partially destroyed. Simply cut the walls free hand while having the floors levels marked.
A simple corner that supports a partial second or even third level gives cover and height dimension. A few "corner" buildings goes a long way in the whole of your terrain. Remember to give open areas where ranged figures can shoot (from cover) and walled areas where close combat figures can hide. This gives minimal additions of windows needed. Only put windows where they make sense in the above criteria.
Two examples of simple corner designs:
|
|
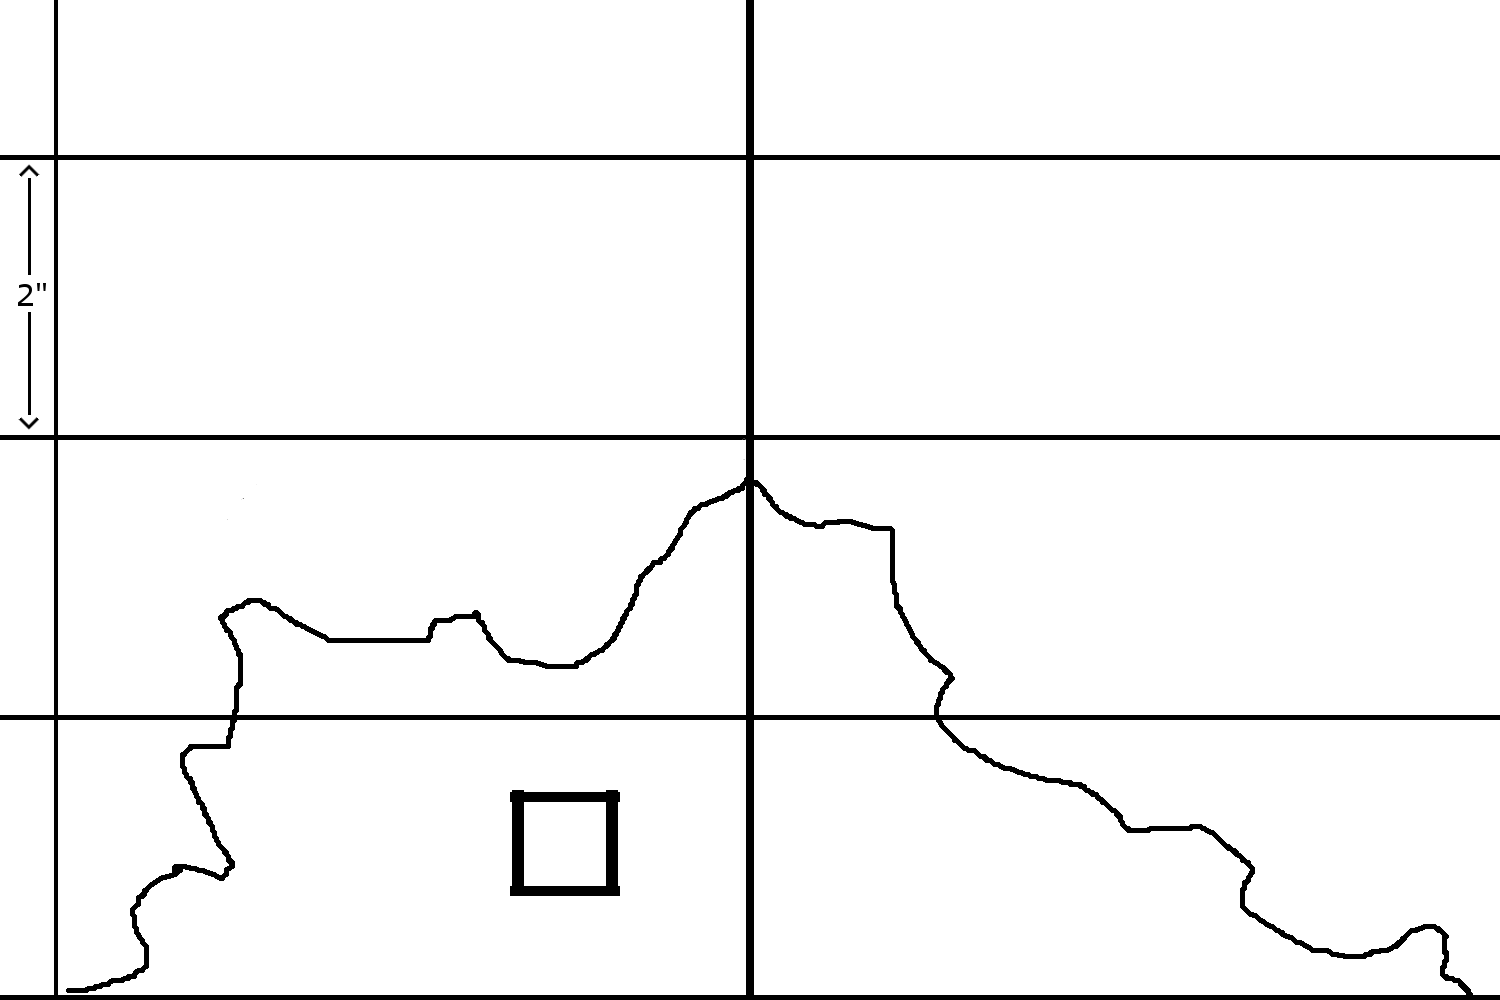
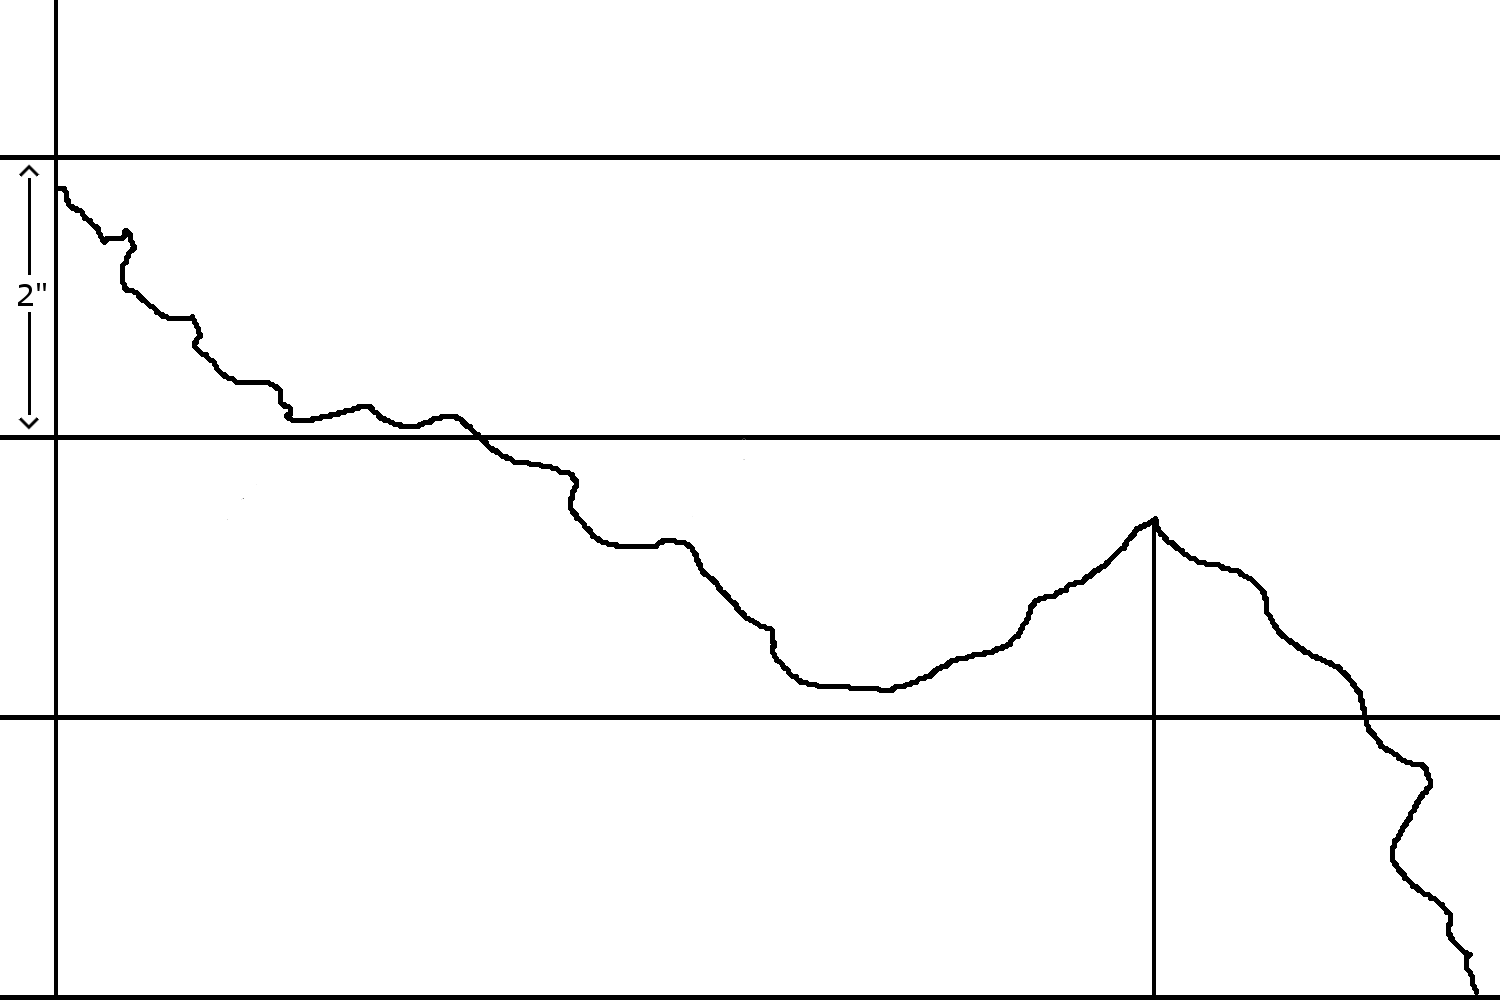
The next few buildings should be two corners. This gives 3 sides to a building and is basically a whole building cut in half. The "half" buildings can be augmented during placement with a "corner" building. This gives the illusion that 3 corners of a building survived.
Example of a 2 corner building:
|
|
|
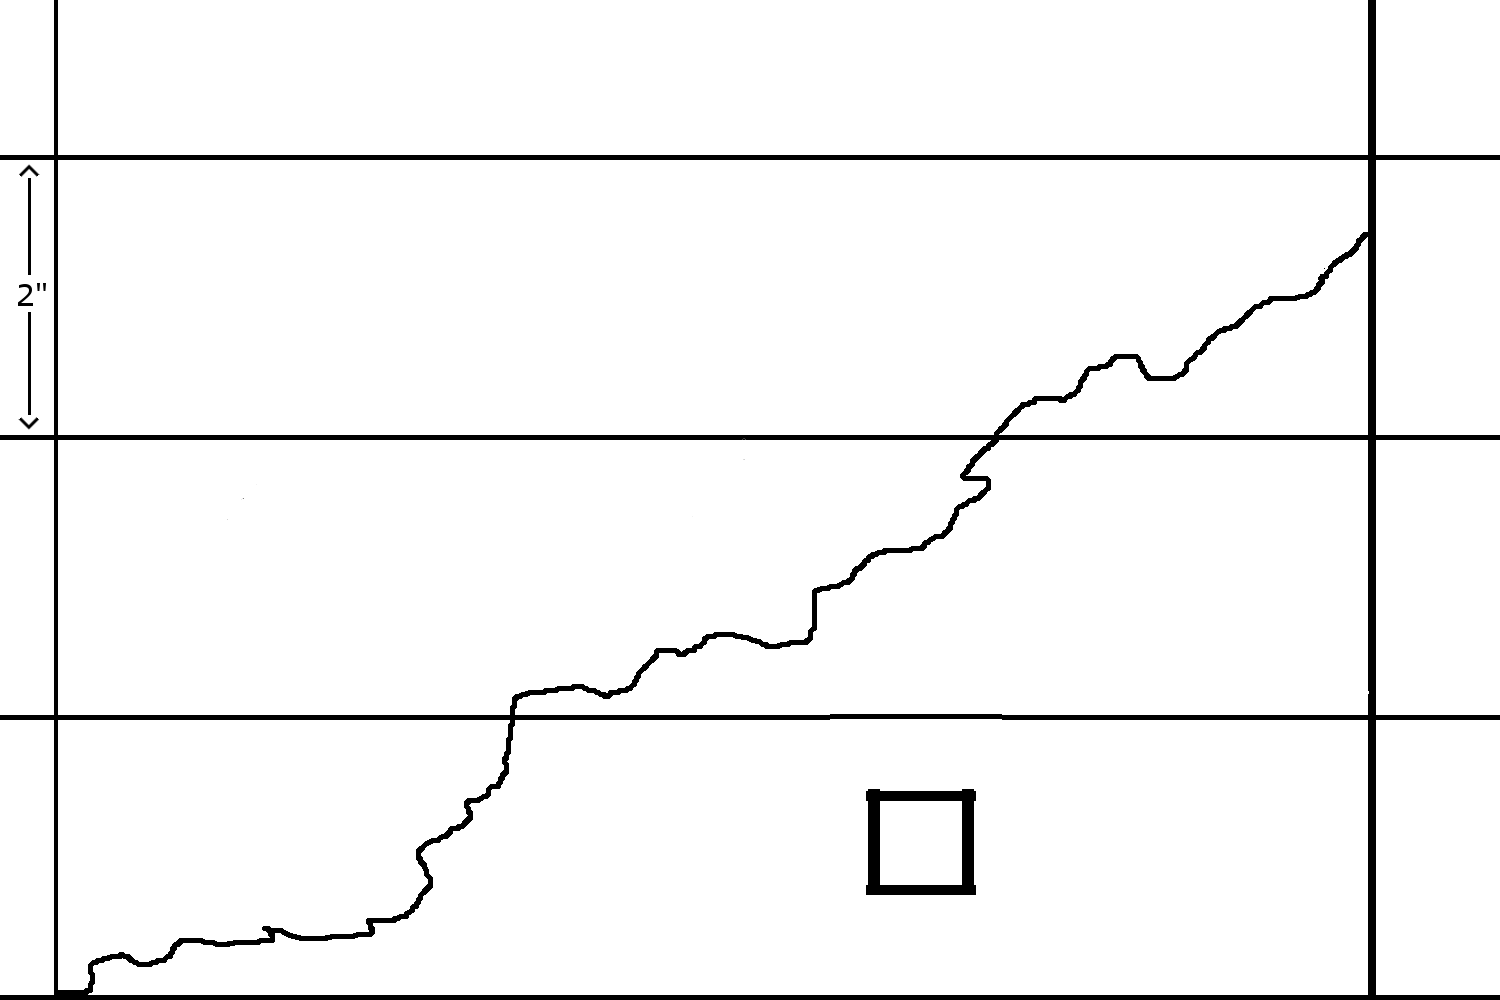
With only a few, more complex buildings, a Mordheim board is ready to play on.
Example of a 3 corner building without window placement:
|
|
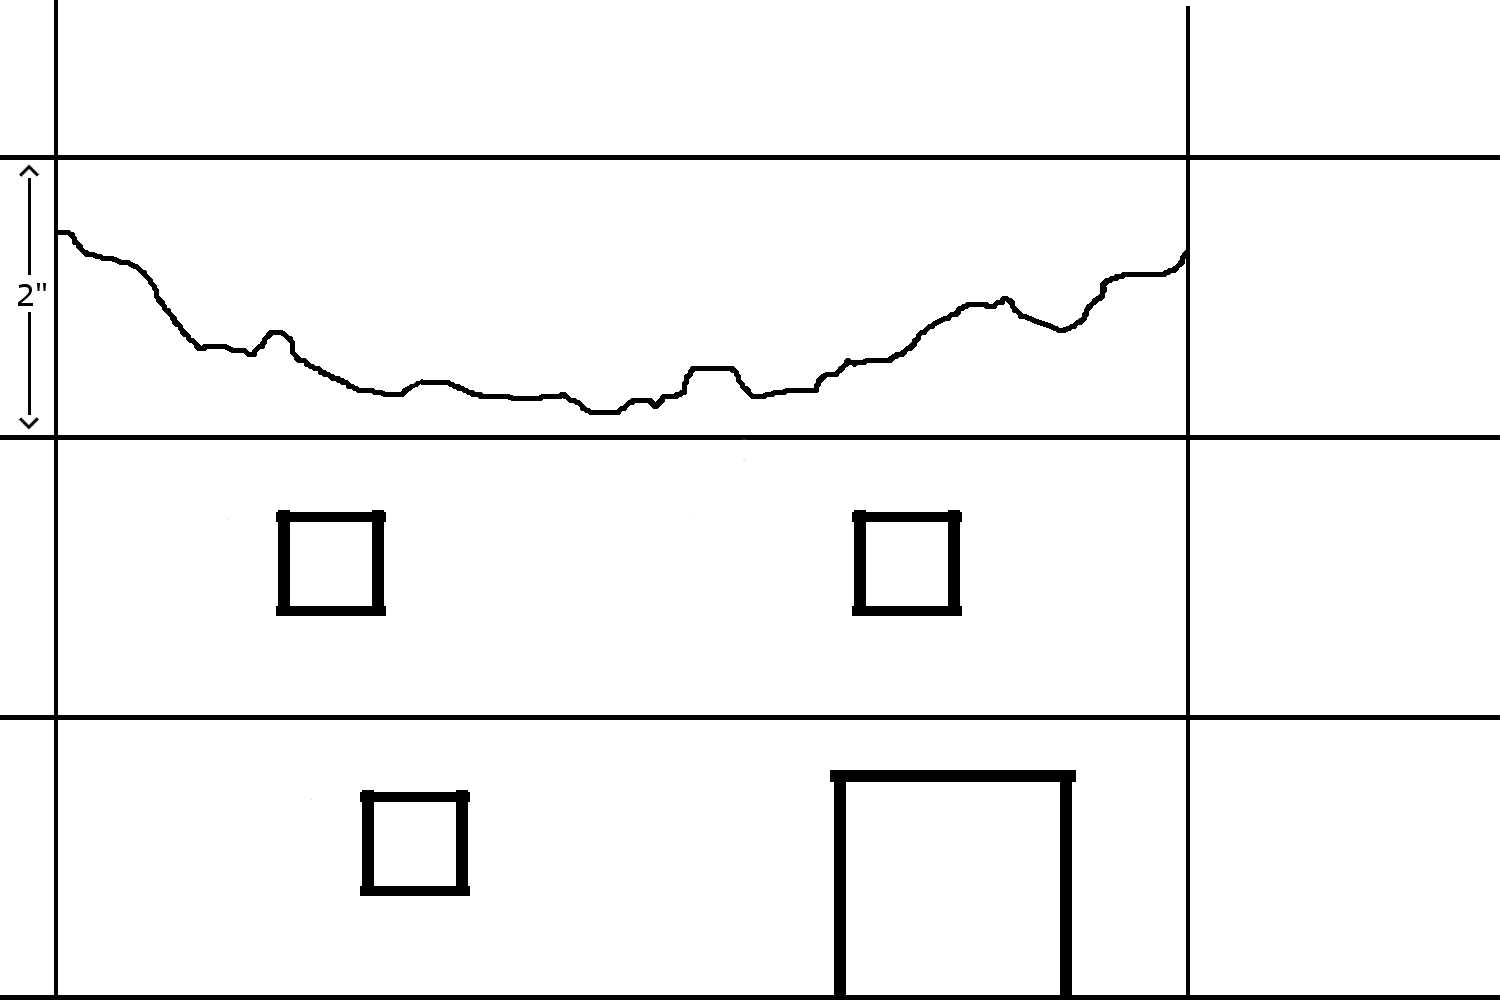
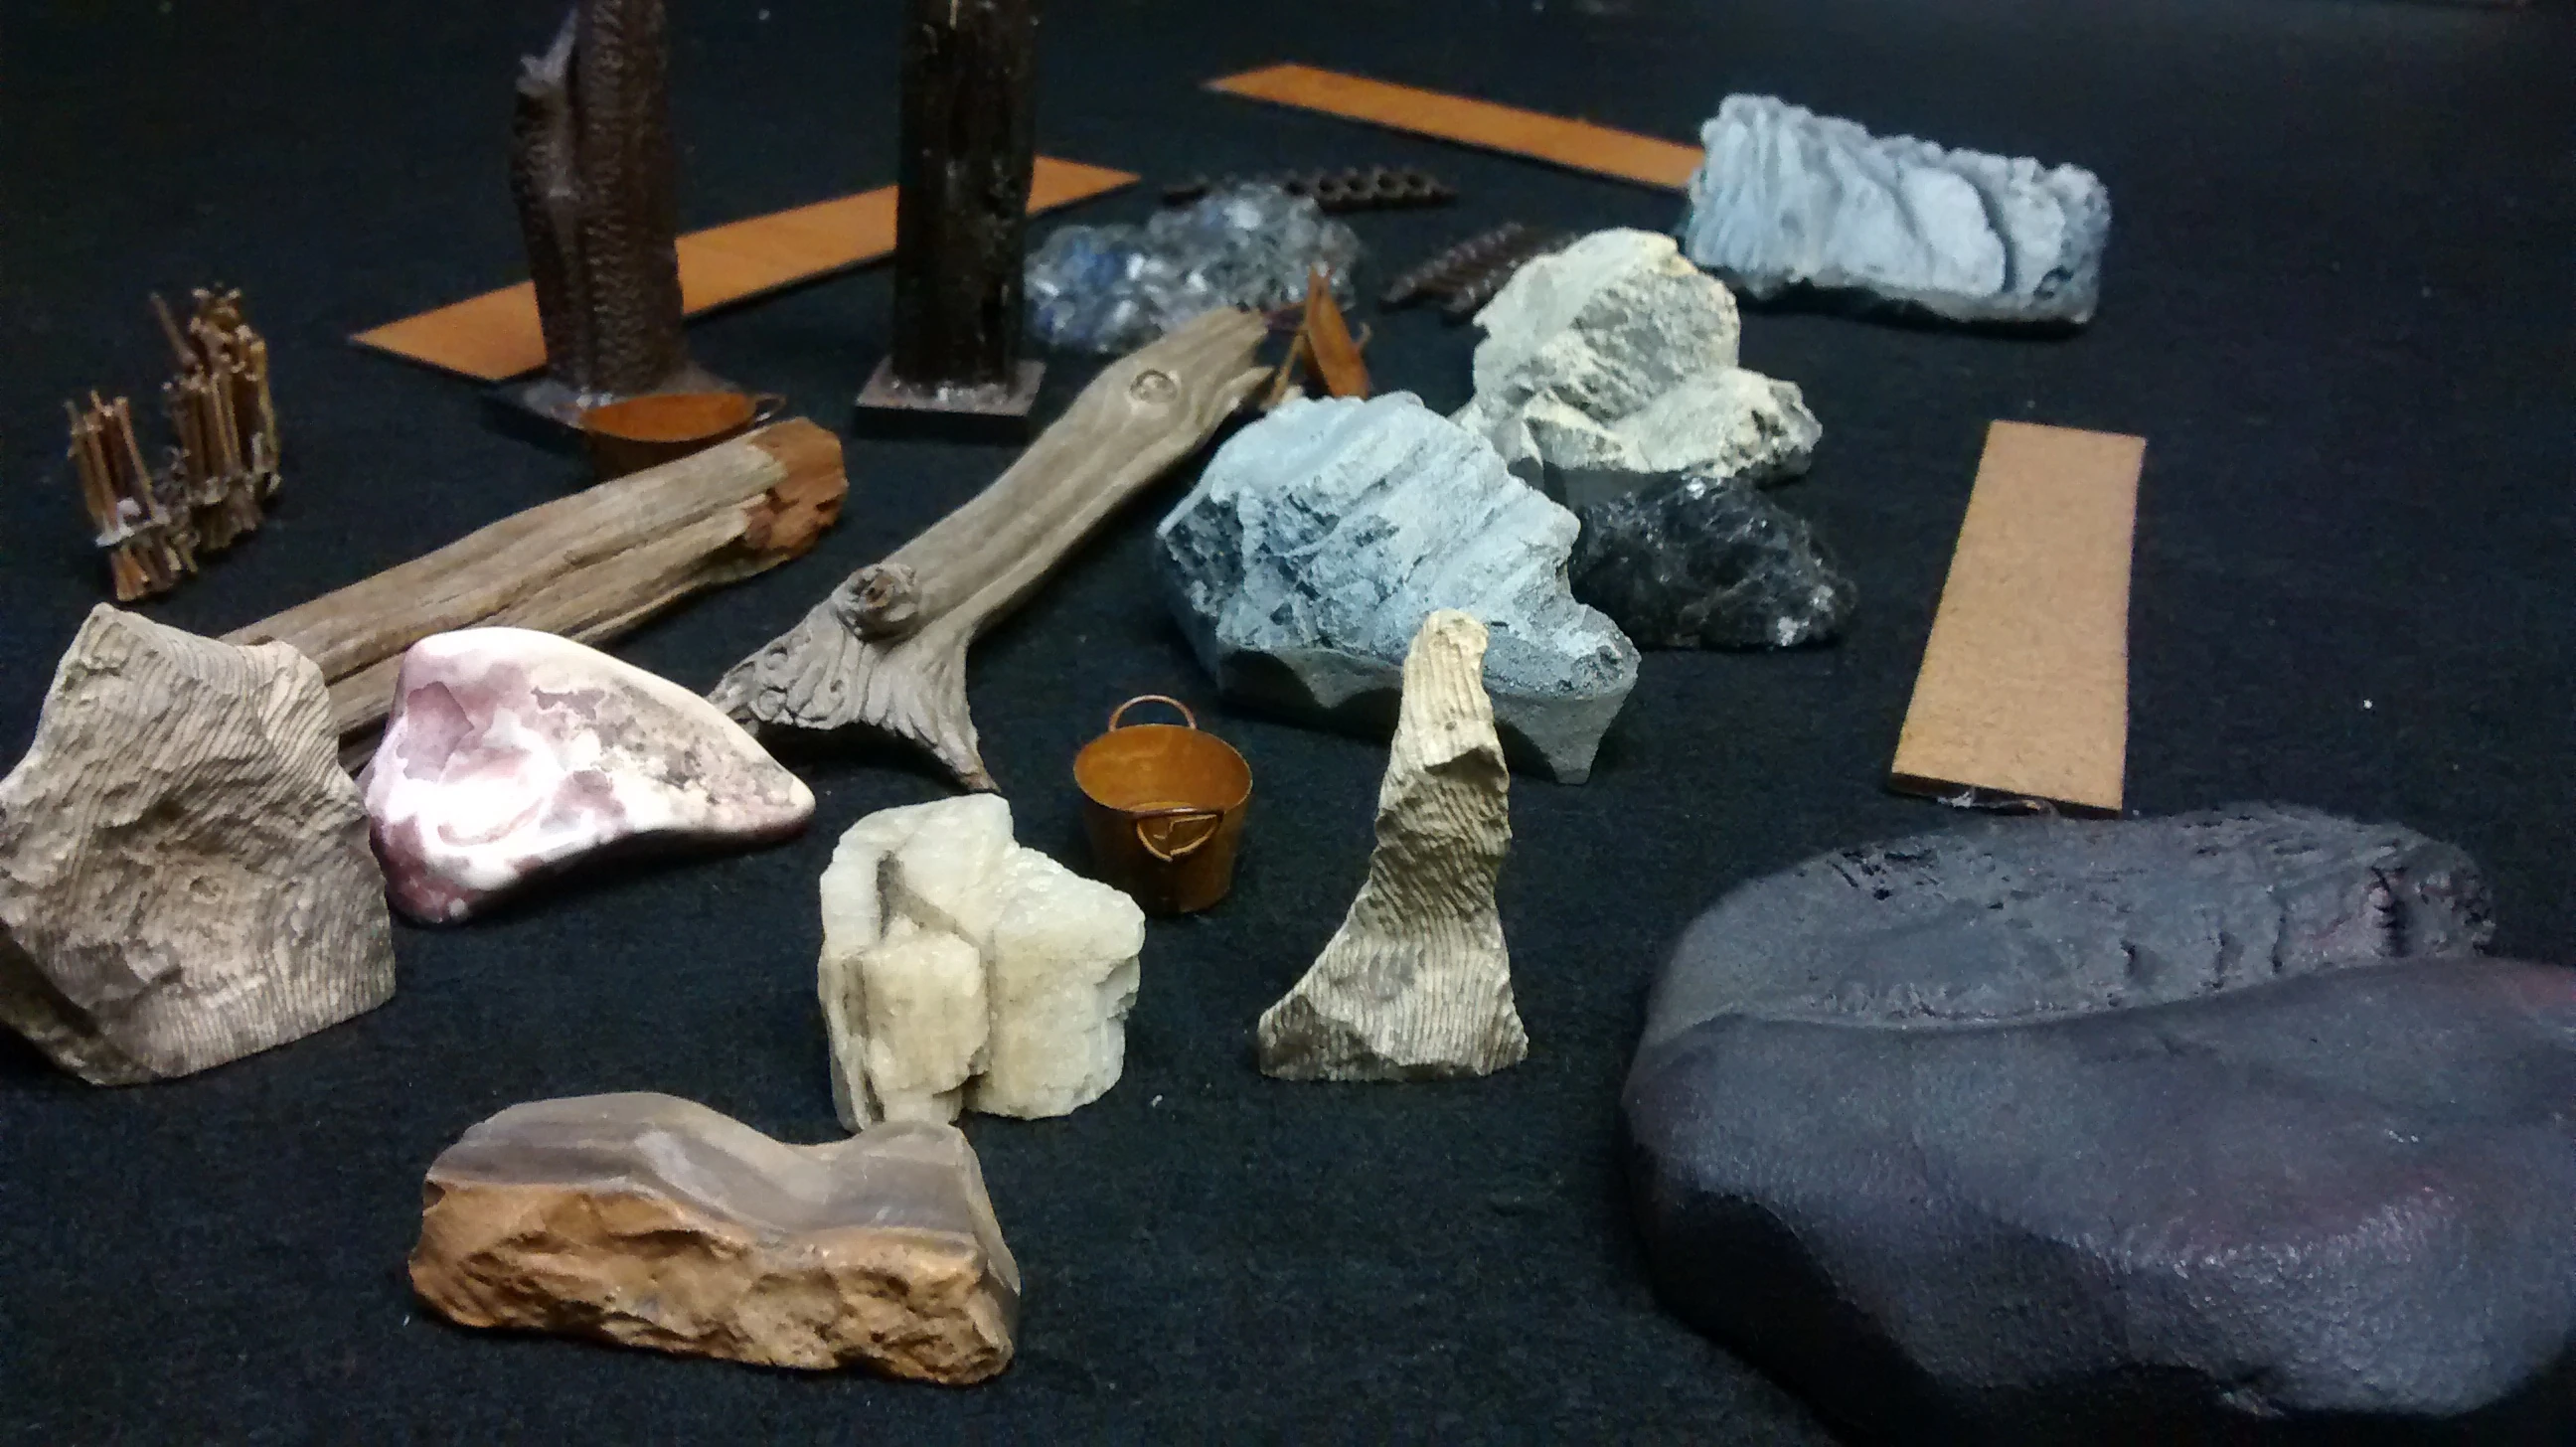
Even before the last of the complex buildings are completed, there is enough to play with. Having minor terrain, such as some dead fall (grape wood or a dead broken branch end), barrels and rocks, will help during this time. Keep an eye out for anything that fits the theme and scale, such as toys or Halloween decorations.
|
|
Designers showing off their new stock for sale on forums can also give ideas for general design:

Overlays[]
Taking Public Domain pictures and using a free program (GIMP) you can create printable massive overlays for walls, floors, roofs, windows and framework. Just print and paste onto MDF, cardboard, cardstock or whatever your working with. After the pieces are "dry fitted" and ready to go is the best time to apply overlays then trim.
Planks, floors, walls and window/door frame overlays make a finished look to any building. Flock the ground, paint the edges black and use black to cover any rough parts. Your buildings look professional without tons of time or money.
Some public domain pictures can be straight applied to a building or changed into a massive overlay.
")
")
")
")
")
")
")
")
")
")
Use whatever is free. Desktop backgrounds have a multitude of graphic art as well. Obviously, anything can be used for your own personal overlays.
![Stone textures[2]](/wiki/File:Stone_wall_1.jpg "Stone wall 1.jpg (5.53 MB)")
![[2]](/wiki/File:Stone_wall_2.jpg "Stone wall 2.jpg (4.8 MB)")
![[2]](/wiki/File:Stone_wall_3.jpg "Stone wall 3.jpg (3.84 MB)")
")
")
")
")
![Grunge Textures[3]](/wiki/File:Stone_wall_8.jpg "Stone wall 8.jpg (3.69 MB)")
![[3]](/wiki/File:Stone_wall_9.jpg "Stone wall 9.jpg (573 KB)")
![[3]](/wiki/File:Stone_wall_10.jpg "Stone wall 10.jpg (2.3 MB)")
![[3]](/wiki/File:Stone_wall_11.jpg "Stone wall 11.jpg (490 KB)")
![[3]](/wiki/File:Stone_wall_12.jpg "Stone wall 12.jpg (5.03 MB)")
![[3]](/wiki/File:Stone_wall_13.png "Stone wall 13.png (1.46 MB)")
![[3]](/wiki/File:Stone_wall_14.jpg "Stone wall 14.jpg (414 KB)")
http://www.photos-public-domain.com has many textures for private and professional use.
")
")
")
")
")
")
")
")
")
")
")
")
")
")
")
")
")
")